
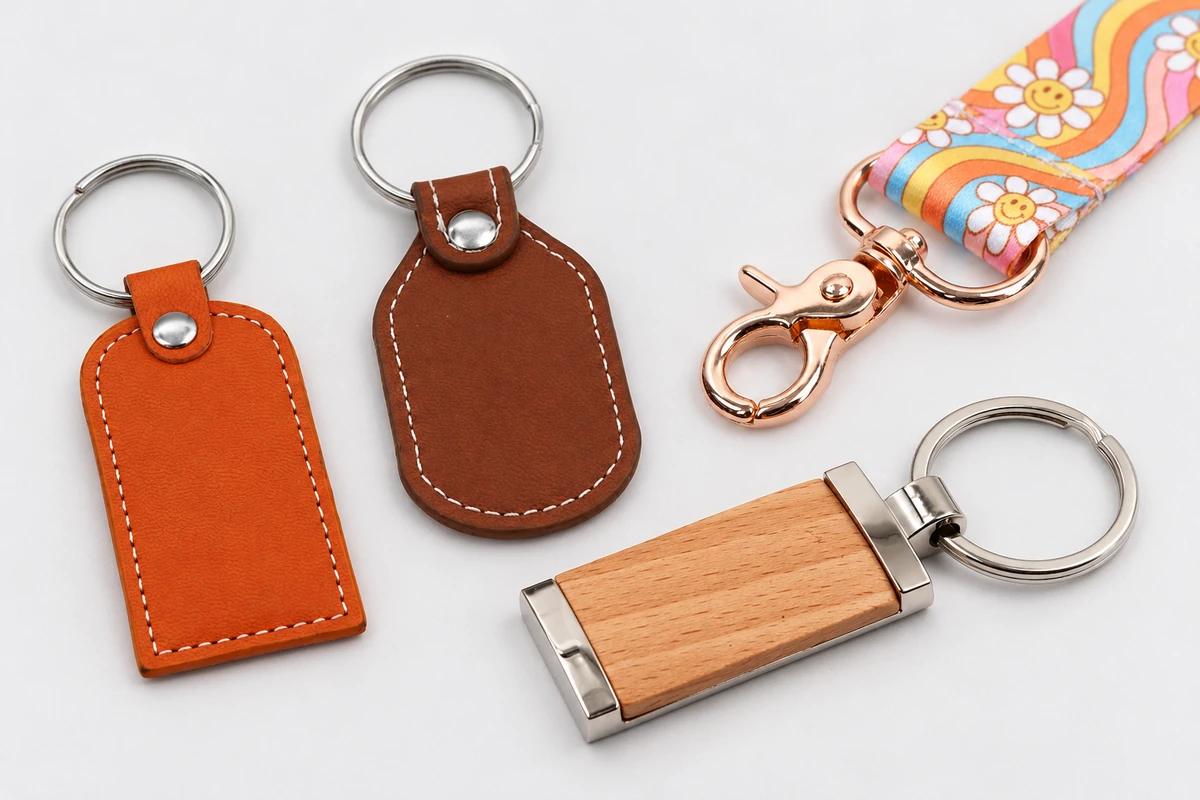
Choose a key ring by its outside diameter, inside opening, and section dimensions, then check it on the actual keys and charm. Measure overall keychain length only after the selected hardware is assembled. A ring-size label alone cannot tell you whether the finished product will fit or hang as intended.
This guide is for buyers specifying a custom keychain, replacing an attachment, or planning retail packaging. For the decorative body itself, start with our custom keychain size guide.
Which Key Ring Dimensions Should You Specify?
A ring needs more than one measurement. Outside diameter describes its overall footprint; inside diameter describes the opening. Wire diameter applies to round wire, while a flattened section needs its width and thickness identified. The thickness of the complete split ring is another measurement.
| Measurement | What to record | Why it matters |
|---|---|---|
| Outside diameter (OD) | Across the outer edges of a circular ring | Overall ring footprint and visual proportion |
| Inside diameter (ID) | Across the clear inner opening | Space within the ring, separate from hole compatibility |
| Section and thickness | Wire diameter or section width and thickness; complete ring thickness | Passage through holes and bulk at the connection |
| Clasp opening and body | Usable open gap, inner space, and maximum external dimensions | Ability to attach to the intended loop and fit in packaging |
Do not apply a universal OD-to-ID formula to a split ring. Forming, overlap, and section shape affect the actual dimensions. The RS PRO key-accessory datasheet, for example, lists OD, ID, wire size, and ring thickness separately. Use your selected component's drawing for the order.
Why Can a Ring Look Right but Fit Poorly?
A ring may suit the charm visually but catch against a thick key head. A clasp can look large enough while its gate cannot pass over a bag loop. These are connection problems that a front-view product photo cannot settle.
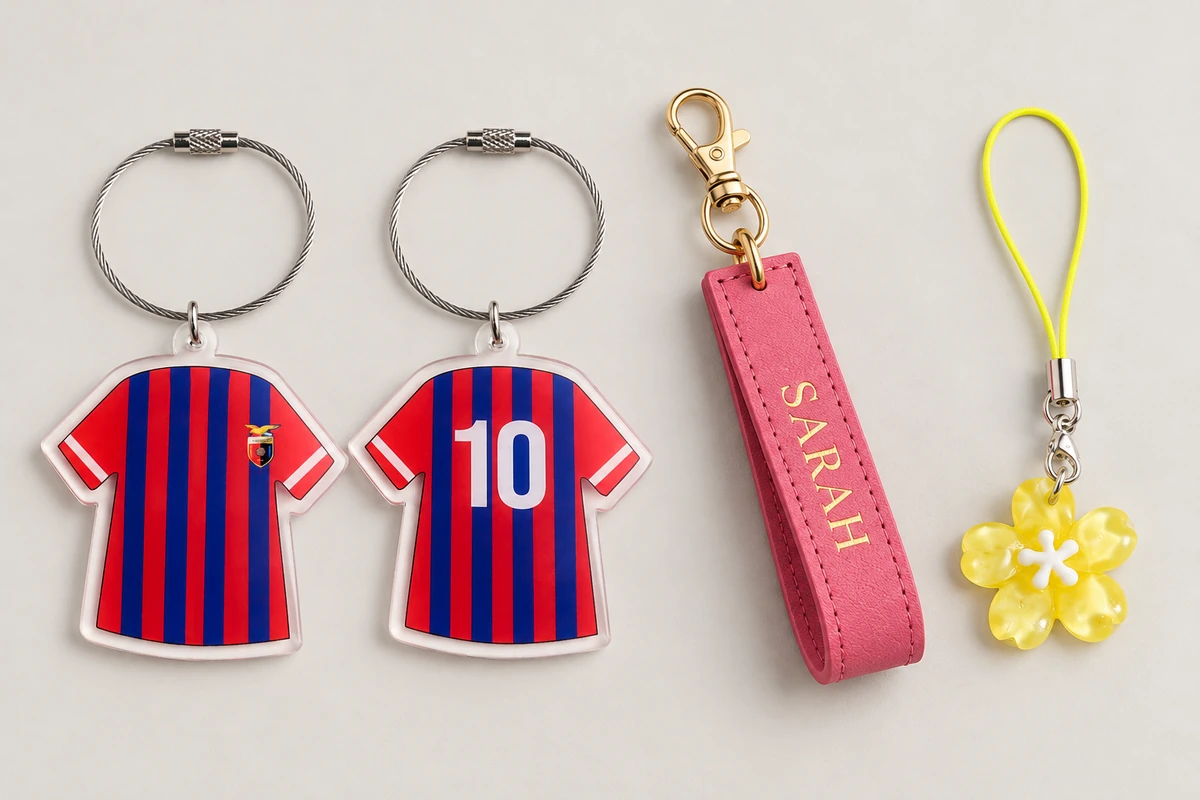
Check the path into the connection and movement after attachment. The key or charm should reach the position needed for use without being forced against the ring, connector, or neighboring part. Also look at projecting clasp levers and bulky joints: they contribute to the finished footprint even when the decorative body is small.
How Do You Measure the Complete Keychain?
Use a ruler for the overall layout and suitable measuring tools for small hardware dimensions. Keep the unit consistent, and identify the measurement points on a photo or drawing.
- Measure each component: Record the charm's maximum width, height, and thickness, including projecting ears, tabs, or fittings. Record the ring and clasp dimensions separately.
- Assemble the intended combination: Use the proposed ring, connecting links, chain, and charm. Check that the attachment can move through its intended range.
- Measure the hanging length: Let the assembly hang naturally. Measure from the uppermost outer edge of the top fitting to the lowest point. State this method so it is not confused with length measured from a support point.
- Measure the packed arrangement: Lay or secure the product as it will sit on the card or in the package. Record maximum length, width, and thickness in that position.
Here is a hypothetical arithmetic example, not a product specification: a 30 mm ring, a 15 mm connector, and a 45 mm charm total 90 mm when their separate lengths are added. That sum is not the assembled hanging length. Components overlap where they connect, and attachment positions change how they hang. Measure the assembled sample instead.
Which Attachment Makes Sense for Your Project?
Start with the object that the hardware must attach to and how often users need to remove it. Then consider the overall appearance and length.
- For a set of everyday keys: Compare split-ring samples using the actual keys, including the thickest head. Choose the combination that allows practical attachment and movement without adding unnecessary bulk.
- For a removable bag charm: Consider a clasp when frequent removal is useful. Check the usable gate opening against the actual bag loop, then check the enclosed space after the clasp closes.
- For a charm that needs separation: A chain or connecting link can move the body away from the main ring. Review the extra hanging length and how the charm turns.
- For a strap design: Check the strap's finished width and thickness against its fitting. A folded or stitched end may be bulkier than the visible strap.
KeychainWise's confirmed accessory options include metal rings, lobster clasps, D fittings, swivel clasps, chains, webbing, and leather cords. The specific dimensions and combination are selected for the project. A familiar hardware name or a matching finish is not enough to confirm compatibility.
What Should Your Hardware Specification Include?
Send a marked drawing with the decorative body and attachment as separate parts of one assembly. A reference photo helps explain the appearance; dimension labels explain what must fit.
- Attachment point: Hole or eyelet dimensions, local body thickness, and distance between the hole and outer edge. For a slot, label both length and width.
- Hardware: Component type, required measurements, finish, connection order, and any component reference already approved.
- Finished product: Hanging measurement points, maximum protrusions, intended keys or attachment object, and orientation preferences.
- Order and packaging: Quantity, bag or card arrangement, destination, timing, and the sample checks required for approval.
Define tolerances with the supplier for the dimensions that control fit. Do not copy one tolerance across a soft strap, a metal opening, and the assembled length without reviewing the construction. If a required fit is critical, provide the actual mating item or its dimensioned drawing.
How Should You Check the Assembled Sample?
Review the assembled sample with the same keys, loop, or fitting expected in use. Confirm that the parts can be attached, moved, and removed as intended. Check the clasp through its normal opening and closing movement and observe whether the charm rotates into an awkward position.
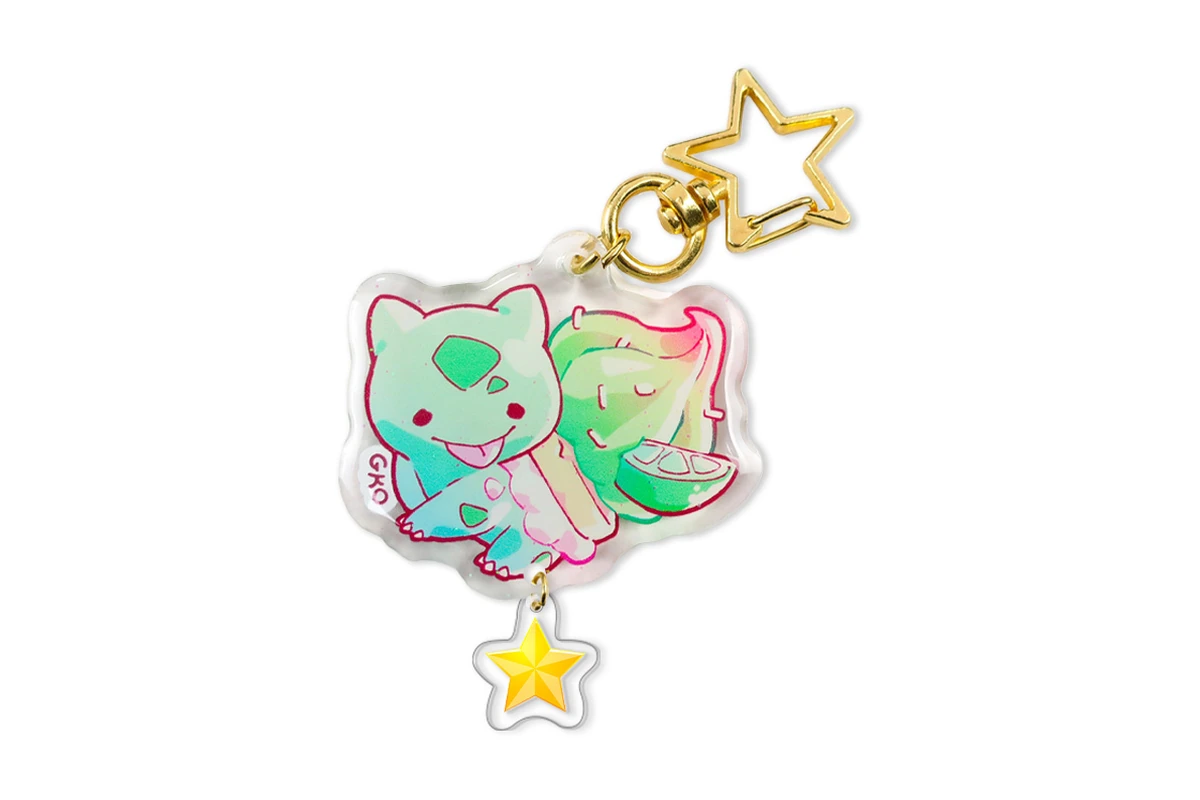
Record the actual dimensions beside the approved drawing and photograph the measurement points. Check the full perimeter for projections, then pack the sample in the proposed bag, on its card, or in its box. Close the package normally and check that hardware does not press against the product or distort the presentation.
KeychainWise offers packaging options including OPP bags, cards, blister packaging, kraft boxes, and gift boxes, selected by project. Review the product and packaging together during sample development. A fit check does not establish a load rating or durability result; any required performance testing needs its own agreed method and acceptance criteria.
Choose the Hardware as Part of the Whole Product
Choose a ring by its defined dimensions and its fit with the intended keys and charm. Confirm the complete hanging length, connection movement, and packed footprint on the assembled sample. Those checks give you a clearer purchasing specification than a single ring-size label.
Key Takeaways
- Specify ring outside diameter, inside diameter, cross-section, and thickness separately.
- Check fit using the actual keys, attachment hole, or bag loop that the product will meet.
- Measure assembled hanging length directly; loose component lengths overlap at their connections.
- Approve the finished hardware combination and its packaging arrangement before production.
Frequently Asked Questions
Related Resources
Send your artwork, target body dimensions, hardware reference, intended keys or attachment loop, quantity, and packaging plan. Include any maximum overall length or fit requirement so we can review the proposed assembly.
Discuss Your Keychain Size