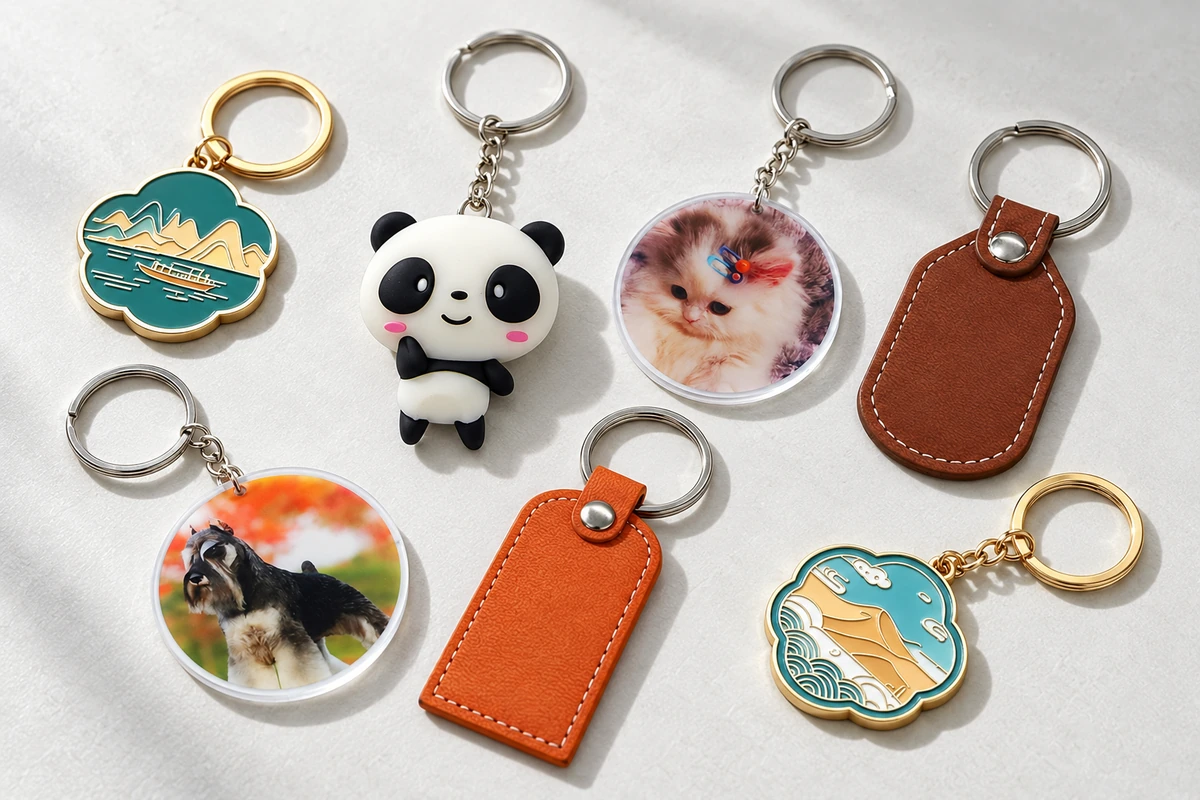
For a flat everyday keychain, a 40 × 30 mm or 50 × 40 mm body outline is a useful first comparison. Start smaller for a compact symbol and larger for an illustration that needs more room. These are suggested design exercises, not standard sizes or a promise that every material and design can use them.
The right size should be easy to carry, make the essential design readable, and leave room for the attachment. A body that looks balanced on screen may feel too wide beside a car key or too small on a backpack. Choose the body first, then check the finished assembly with the keys, clip, or bag it will actually accompany.
This guide focuses on the overall size decision. For material-specific ranges and thicknesses, see our keychain size and thickness guide by material.
Keychain Size Examples in Millimetres and Inches
The table gives five outlines to print and compare. Width and height refer to the body only, excluding a separate ring, chain, or clasp. Round examples use the body diameter. These labels describe the examples here; there is no single small, medium, or large size that suits every keychain design.
| Body outline: mm / inches | Start here for | Check before choosing |
|---|---|---|
| 30 mm diameter 1.18 in diameter | A compact round tag with one simple symbol | Keep the lettering short; reserve space for the hole and border. |
| 40 × 30 mm 1.57 × 1.18 in | A short logo or a small everyday key tag | Compare the full outline against the intended key head and pocket. |
| 50 × 40 mm 1.97 × 1.57 in | An illustration, souvenir motif, or gift design | View the artwork at this exact size, including its smallest text. |
| 60 × 45 mm 2.36 × 1.77 in | A more visible bag charm or a wider graphic | Check the added width, corner shape, and assembled hanging length. |
| 80 × 55 mm 3.15 × 2.17 in | A statement charm intended mainly for a bag | Review material feasibility, finished weight, and packaging with a sample. |
One inch equals 25.4 mm; the inch values above are rounded to two decimal places. Use one controlling unit on the drawing. For example, specify 50 mm as the target and show 1.97 in as a reference, rather than treating the rounded figures as two separate requirements.
Why the Same Nominal Size Can Feel Different
A “50 mm keychain” can describe a round body, a tall narrow tag, or the longest point of an irregular character. Those products do not occupy the same space. A 50 mm circle is wider than a 50 × 25 mm tag, even though both have a 50 mm dimension. Always record the second dimension instead of buying from a single number.
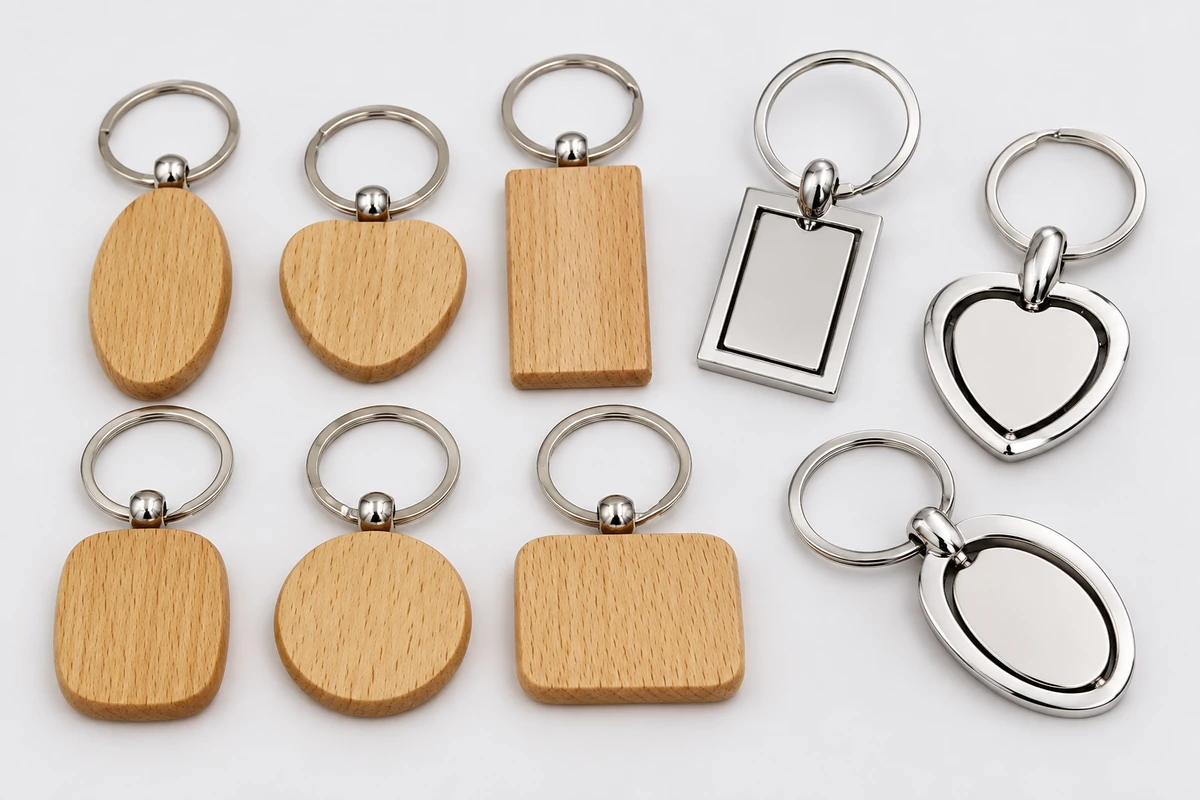
Shape also changes the usable artwork area. A pointed ear, a narrow tail, or a hole near the top can increase the outside size without giving the logo more room. Rounded corners may suit a pocket better than long projections. Review the silhouette and printed area separately, then check the thickness and weight of the chosen construction.
How to Measure a Keychain for a Custom Order
Use a ruler for the overall outline and an appropriate measuring tool for small details. Record the orientation on a sketch so “width” means the same thing to you and the manufacturer. Measure an existing reference in its intended state; do not pull soft parts taut unless that is the agreed measurement method.
- Body width and height: measure the maximum span on each labelled axis. For a circle, write the diameter; for a shape with projections, include them in the outside envelope.
- Thickness or depth: distinguish a flat base from a raised face, resin dome, stitched layers, or a filled body. State which surfaces the measurement includes.
- Attachment position: mark the hole or loop and its location relative to the body. Let the design review establish the required material around it.
- Complete assembly: record the outside hanging length with the selected ring, connector, and body attached. Include any part that extends beyond the body.
Do not estimate dimensions from an unscaled photograph. Send a dimensioned sketch or a reference photographed beside a ruler, and identify which measurements are requirements and which are only preferences. Our key ring and attachment fit guide explains the hardware measurements in more detail.
Which Size Should You Choose for Keys, Gifts, or Bags?
Begin with the place the keychain will be used. A promotional gift still has to work as a personal accessory after the event, so the carrying experience matters as much as the logo.
- Everyday pockets: compare the 40 × 30 mm and 50 × 40 mm outlines beside the real key set. Choose the smaller one if the logo remains clear and the larger one adds bulk without useful detail.
- A simple logo giveaway: try a 30 mm round outline or a compact rectangular tag. One strong symbol may work better than a slogan, website, and detailed illustration squeezed into the same face.
- Souvenirs and illustrated merchandise: compare 50 × 40 mm with 60 × 45 mm at actual size. Use the extra area for details that matter, while checking how much of the outline is occupied by borders and cutouts.
- Backpack and handbag charms: try the 60 × 45 mm or 80 × 55 mm examples for a flat design. Keep the complete drop in mind so it does not hang farther than intended.
These are starting points for flat-body artwork, not dimensions for every plush figure, wrist loop, or functional tool. For those products, depth, loop opening, or working-part geometry may decide the size first. The custom keychain collections show the different constructions available for discussion.
Set the Artwork Size Before You Request a Quote
Ask for an artwork proof at the proposed finished dimensions. The outside body size includes areas that may be unavailable for printing or engraving: an attachment hole, a metal rim, an unprinted acrylic border, or stitching. Confirm the usable design area with the selected process instead of applying one margin to every material.
Try this comparison: print the same design inside 40 × 30 mm and 50 × 40 mm boxes, with the actual proposed cutline and hole marked. Print at 100%, turn off “fit to page,” and check a labelled dimension with a ruler. Read it at a normal viewing distance. If only the large version works, first decide whether to simplify the artwork or accept a larger body.
- Send the body dimensions, orientation, material, desired thickness or depth, and attachment preference.
- Identify the text or graphic that must remain readable; include the artwork file and any required reverse-side design.
- State the intended use, quantity per design and color, packaging preference, destination, and target schedule.
- Ask the quote to identify the included hardware and agreed measurement basis so competing options can be compared fairly.
A paper outline helps you judge size and visual balance. It does not demonstrate the weight, edge finish, flexibility, or production detail of the finished product. Those belong in the sample review.
Check the Finished Assembly Before Approving the Size
Review a sample with the intended ring and connector fitted. Compare its width, height, depth, and overall hanging length with the approved drawing, then attach the intended keys or clip it to the planned bag loop. Check how it turns, rests, and fits into the carrying space.
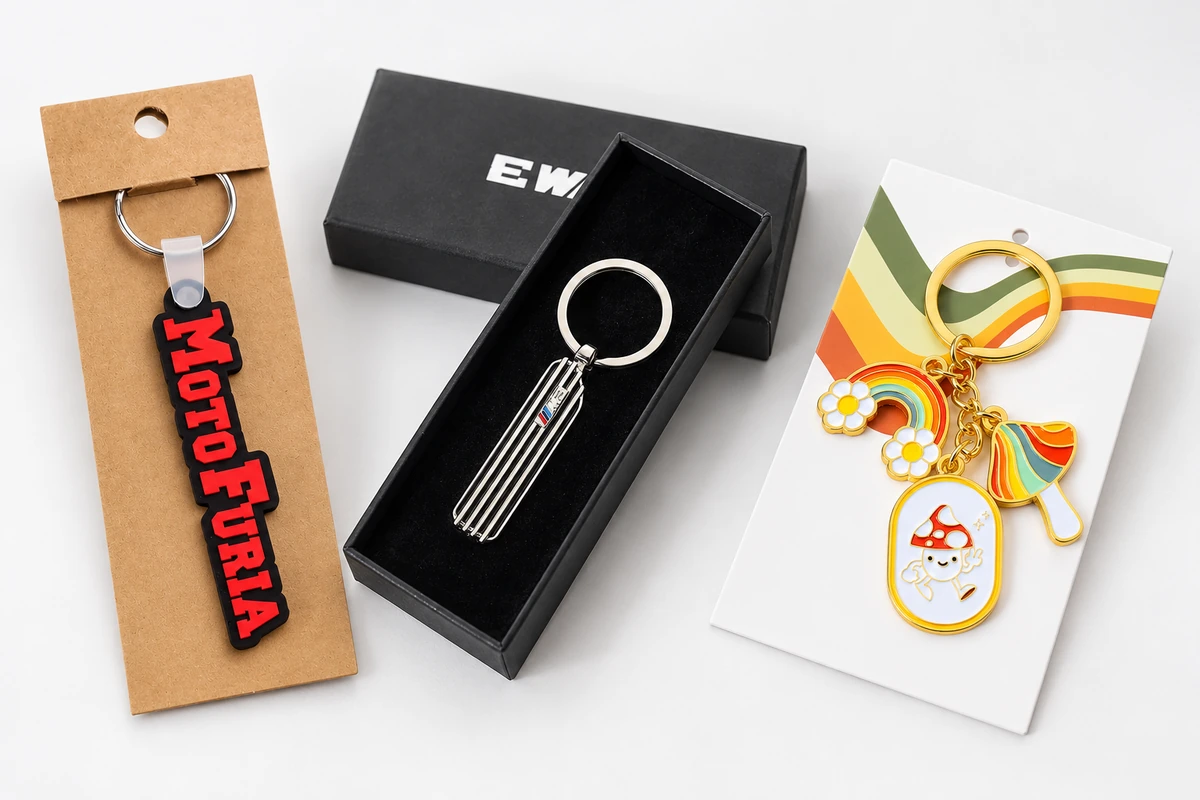
Look at the artwork without enlarging a phone photo. Check both sides if the design is double-sided, and check whether the hardware covers any important detail. Place the assembly on the proposed backing card or inside its package with the hardware in the agreed position.
Record the sample reference, drawing revision, measurements, and agreed acceptance limits before production. A fit check is useful for choosing a size, but it is not a durability or load test. If a design changes after approval, review the affected dimensions again through sample development.
Choose the Smallest Outline That Does the Job
Start with two actual-size outlines, select the one that carries comfortably and presents the essential artwork clearly, and then review it in the intended material. Make the final decision on the assembled sample, including the ring and packaging. A clear drawing is more useful than asking for a “medium keychain.”
Key Takeaways
- Compare 40 × 30 mm and 50 × 40 mm body outlines as an initial exercise for a flat everyday design.
- Specify width, height, and thickness or depth; label body and complete-assembly measurements separately.
- Judge essential text and graphics at actual size, with the real cutline, hole, and border included.
- Confirm carrying comfort, attachment movement, and packaging on the assembled sample.
Keychain Sizing FAQ
Related Sizing and Sampling Guides
- Keychain sizes and thicknesses by material
- Key ring size and attachment fit guide
- Sample development and approval
Send your artwork, two proposed body sizes, intended use, preferred material and hardware, quantity, and packaging plan. We can review the design and sampling requirements for your project.
Discuss Your Keychain Size